
How to Lay a Patio for Beginners: The Importance of Leveling Concrete
Transforming your garden doesn’t have to be complicated. One of the most effective ways to upgrade your outdoor space is by laying a patio – creating a practical area for relaxing, entertaining, or giving children a safe place to play.
While it might seem like a job best left to professionals, laying a patio is entirely achievable for beginners. The key is good preparation and, most importantly, ensuring your concrete base is properly level.
In this blog, we’ll walk you through each stage of the process so you can get it right first time with some expert tips from our team of concrete specialists.
How To Lay A Patio – Step By Step
Step 1: Plan Your Patio
A successful patio begins with careful planning.
Think about:
- The size and shape of your patio
- How you’ll use the space
- The type of slabs or paving you prefer
It’s also essential to plan for drainage. Your patio should have a slight slope (typically a fall of 1:60) running away from your house to prevent water pooling.
Step 2: Gather Tools and Materials
You’ll need the following tools and materials for the job:
- Patio slabs or pavers
- Sand or sub-base material (such as MOT Type 1)
- Concrete mix
- A spirit level
- A trowel and spade
- A plate compactor or tamper
- String and pegs for marking out
- A rubber mallet
Having everything on hand will make the job far smoother.
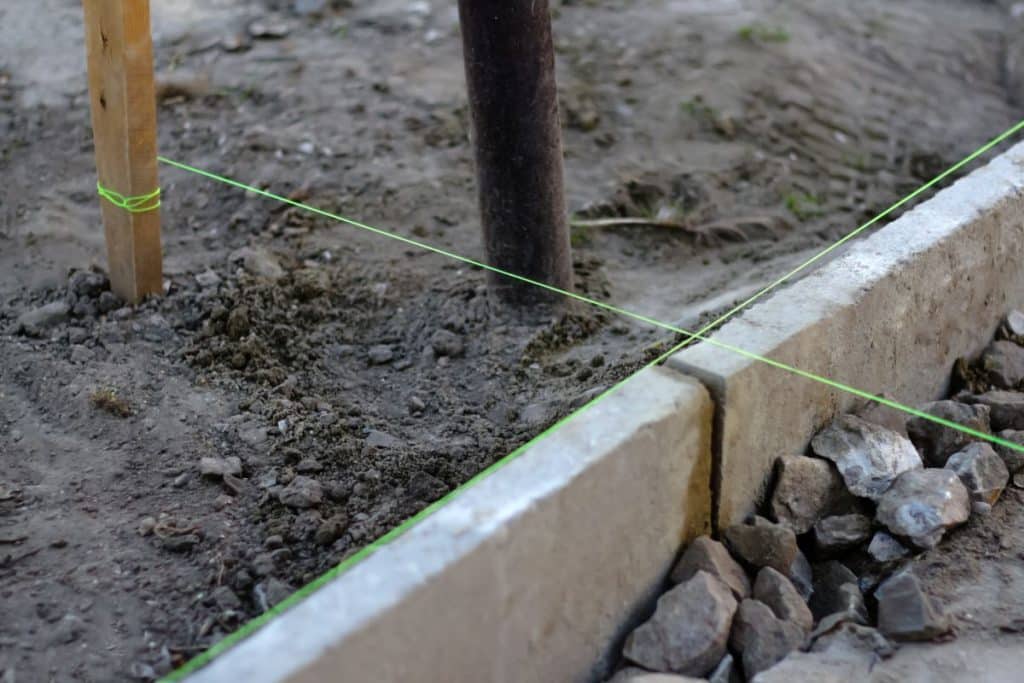
Step 3: Mark and Prepare the Area
- Use string and pegs to mark the area for your patio.
- Dig out the area to a depth of around 150-200mm (6-8 inches), allowing space for your sub-base, concrete, and slabs.
- Clear away debris and level the ground to create a stable foundation.
Step 4: Lay the Sub-Base
Spread around 100mm of MOT Type 1 or crushed stone across the area.
Compact it thoroughly using a plate compactor or tamper until it’s firm and level. This forms the foundation of your patio and prevents future movement or sinking.
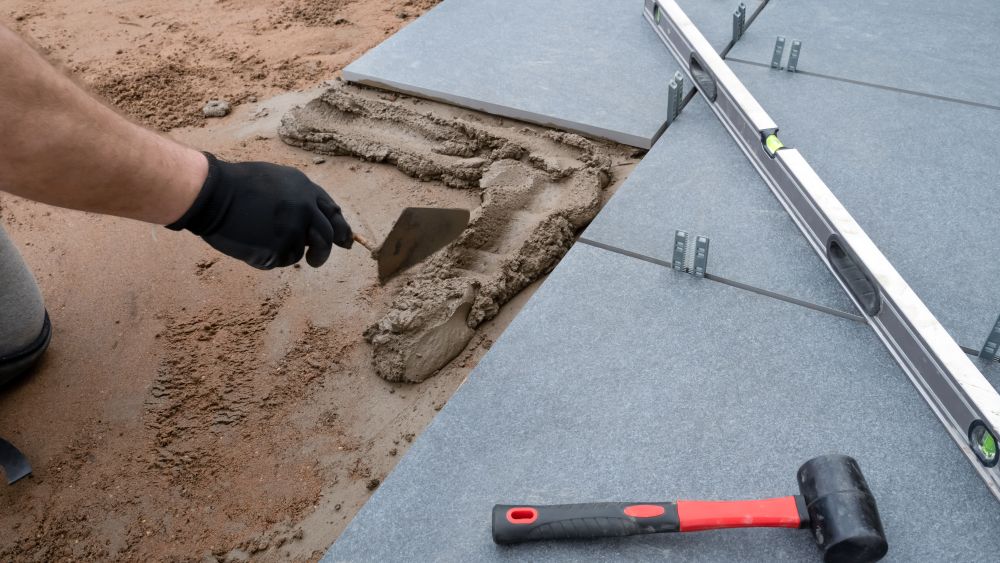
Step 5: Mix and Pour the Concrete
The next step is preparing your concrete mix. For patios, a standard mix ratio of 1 part cement to 5 parts ballast (or sand and gravel) works well. Add water gradually until you achieve a smooth consistency.
Pour the concrete over the compacted sub-base, spreading it evenly using a trowel. Here’s where leveling becomes critical:
Why Leveling Concrete is Crucial
A perfectly level concrete base ensures:
- Even Surface: Prevents wobbling pavers or slabs, providing a stable surface for walking and furniture.
- Proper Drainage: Avoids water pooling, which can damage your patio over time.
- Long-Term Durability: Minimises the risk of cracks or uneven settling, which can lead to costly repairs.
To achieve proper leveling, use a straight-edge or screed board to smooth the concrete. Check the level frequently using a spirit level to maintain consistency and the correct slope for drainage.
Step 6: Lay the Patio Slabs
Once the concrete base is level and slightly firm, start laying your patio slabs. Begin in one corner, using a rubber mallet to tap each slab into place. Maintain even spacing between slabs, using spacers if necessary.
Step 7: Fill the Joints
After laying all the slabs, fill the gaps with jointing sand or a mortar mix. Sweep the sand into the joints and compact it to ensure a secure finish.
Step 8: Finishing Touches
Once everything is in place, clean the surface of the slabs and let the patio set for at least 24-48 hours before using it.
Top Tips For Successfully Laying A Patio
- Always wear protective gear when working with concrete
- Double-check levels at every stage
- Don’t rush the curing process
- Plan your work around mild weather conditions
Need Help with Your Concrete?
If you’re unsure about mixing or pouring concrete, getting the right support can make all the difference.
GB Concrete & Pump supplies high-quality concrete and pumping services across Birmingham and the Midlands. Whether you’re tackling a DIY project or a larger job, having the right materials delivered and placed correctly helps ensure a strong, level base from the start.
If you need a helping hand, get in touch with us and see how we can help.
Popular Articles


