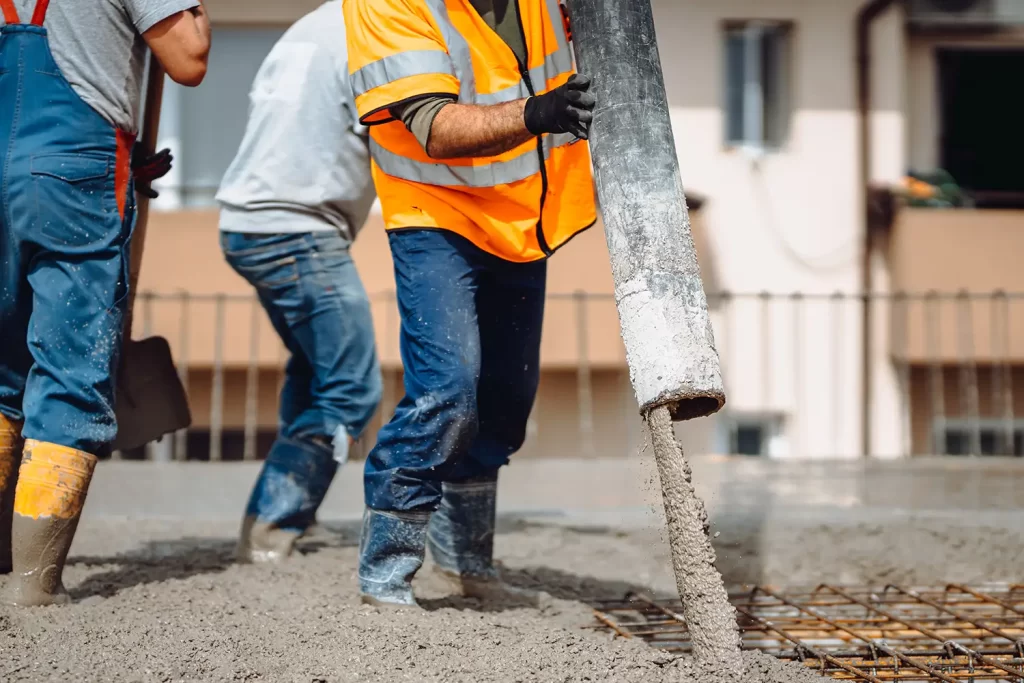
Waterproofing Concrete: What To Do and How To Do It

Concrete is a strong, versatile material that is renowned for applications that are built to last, but it is not impervious to everything. Over time, moisture can penetrate the surface, leading to cracks, damage, deterioration and potentially costly repairs. Proper concrete waterproofing can bolster this weakness and can extend its lifespan.

Understanding how to make concrete waterproof, the advantages of this, the considerations to make and many more will all be explained by our experts in this blog post.

Is Concrete Waterproof?

It may not be a question that arises in daily life too often, but is concrete waterproof? On its own as a standard mix, it is not waterproof but it is resistant to water, and still acts as a porous material. This means that water and moisture will eventually work its way through small pores, build up and cause issues like cracks in the concrete. 

This doesn’t mean that you need to start swapping all of your concrete for a waterproofed version, many concrete structures don’t need full waterproofing at all. Areas that are exposed to moisture on a regular basis are the applications that will benefit from it the most. This includes building foundations, basements, retaining walls, external slabs, and any water-retaining structure.
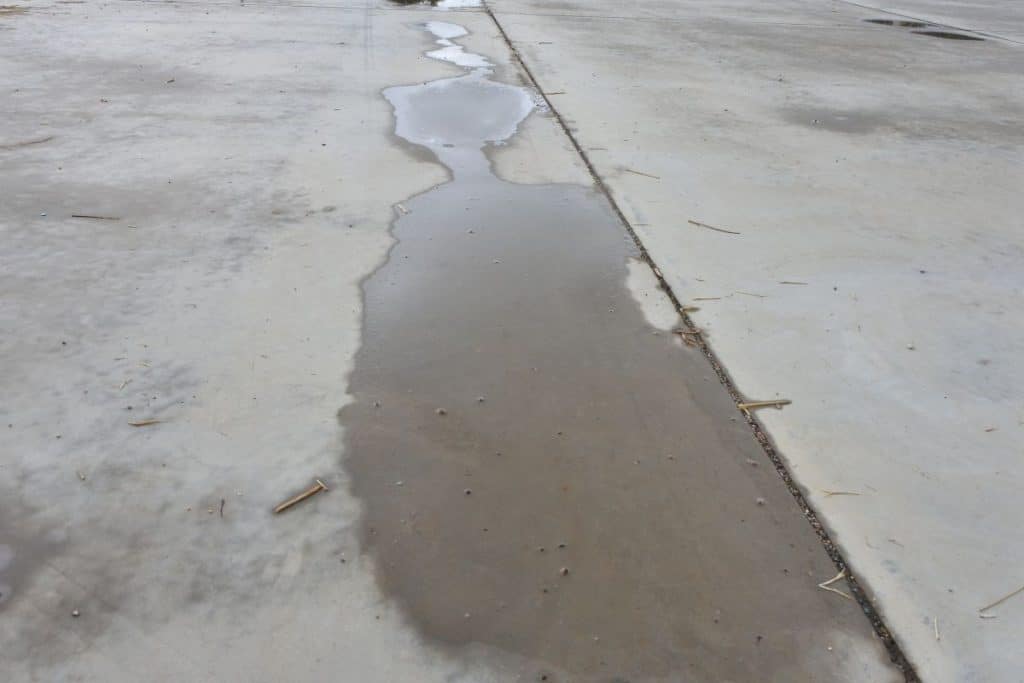
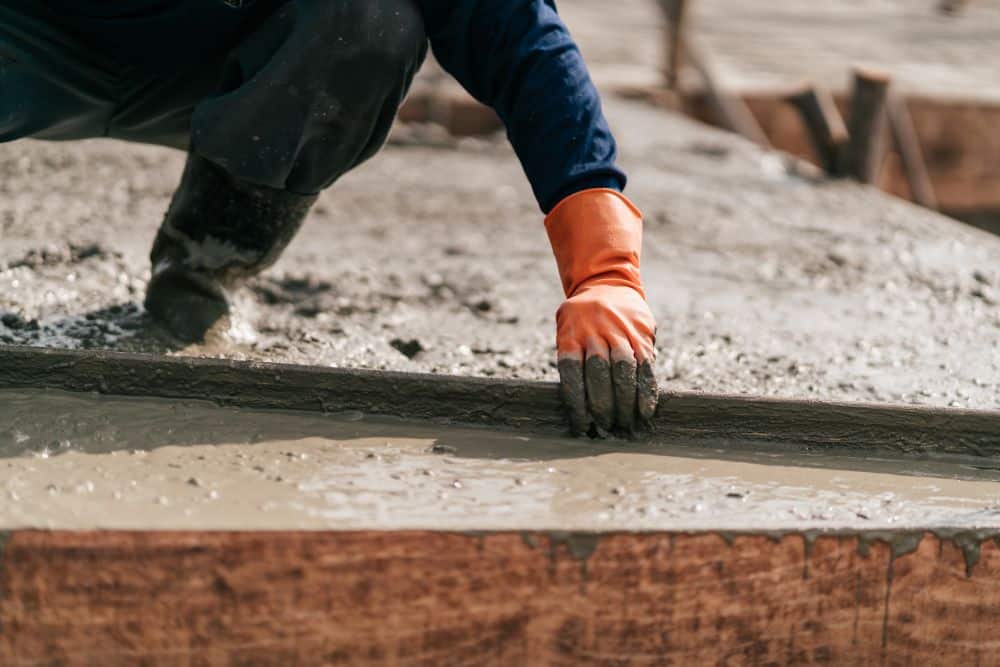
wet concrete

How To Make Concrete Waterproof

As with many things, there is no one-size-fits-all approach to concrete waterproofing and there are multiple methods to achieve it. 

Use Waterproof Concrete Admixtures

Waterproof concrete admixtures are introduced during the mixing process and are an ideal option for new construction projects. They help to reduce water absorption throughout the concrete and are commonly used for foundations, basements, tunnels and other structures below-ground that require moisture protection from the outset.

Apply a Concrete Sealer

Concrete sealers are applied to the surface to create a protective barrier against water penetration. They are a popular choice for patios, driveways, flooring and pathways. This is because they keep water damage to a minimum and maintain the appearance and durability of the concrete over time. 

Install a Waterproof Membrane

Waterproof membranes are used to provide an additional layer of protection in areas that are exposed to significant water pressure. Common applications of this concrete waterproofing system are basements, retaining walls and other underground structures. They are crucial in situations where preventing water ingress is critical to maintaining structural integrity.

Appy Waterproof Coatings

Waterproof coatings are protective surface treatments designed to shield concrete from moisture and weather-related damage. They can improve durability, reduce deterioration and enhance resistance to harsh conditions, making them suitable for walls, facades and other exposed concrete structures.

Common Mistakes When Waterproofing Concrete

Concrete waterproofing is only effective when the correct products and techniques have been used. There are some common mistakes that get made which can save you time and money if you avoid them.

Ignoring Existing Damage

Waterproofing concrete should never be used as a substitute for repairs. Pre-existing cracks, gaps and other forms of damage should be addressed first, as waterproofing products are designed to prevent moisture ingress rather than resolve underlying structural issues.

Choosing the Wrong Product

Different concrete structures require different waterproofing solutions. A product that works well for a driveway may not be suitable for a basement or retaining wall, so selecting the right system for the application is essential.

Poor Surface Preparation

Proper surface preparation is crucial for successful waterproofing. Dirt, dust, grease and other contaminants can prevent coatings, sealers and membranes from bonding correctly, reducing their effectiveness and lifespan.

Using Low-Quality Materials

Choosing high-quality waterproofing products from the start will make a significant difference to long-term performance against moisture, weather exposure and general wear.
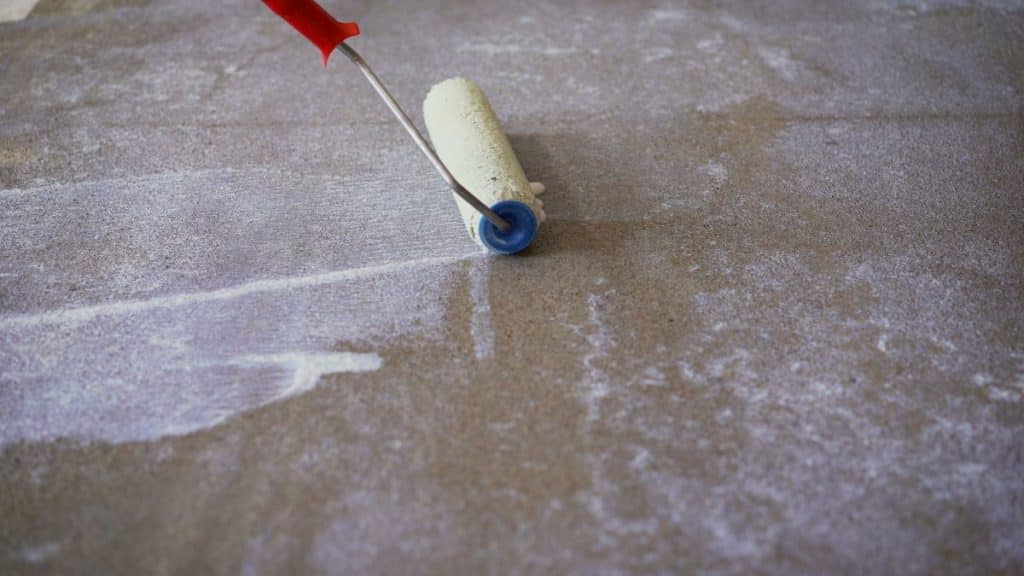
applying waterproofing sealant to concrete floor

Protecting and Maintaining Your Waterproofed Concrete

Inspect Concrete Regularly

Knowing how to make concrete waterproof and then keep it waterproofed is crucial. Regularly inspecting for any surface damage, cracks or signs of water absorption can help you spot problems early. This early detection means repairs can be made quickly and maintain the effectiveness of your concrete waterproofing.

Reapply Sealers When Required

Concrete sealers can wear down over time due to weather exposure and daily use. Following the manufacturer’s recommended maintenance schedule and reapplying sealers when necessary helps maintain consistent protection against moisture.

Address Small Issues Early

Even some of the most minor cracks or defects in your concrete can quickly develop into far larger problems if left untreated. Promptly repairing these issues will prevent any further damage, increasing the lifespan of your concrete as well as keeping repair costs down.

Start With Quality Concrete

One of the best ways to ensure your concrete will set correctly, meet the durability levels you need and be waterproofed to whatever specifications you require, is to seek help from the experts. At GB Concrete & Pump, we have made concrete our specialty and can help you order the ideal concrete for your project, regardless of size.

Getting The Right Materials For Your Concrete Project

This guide should have given you a better understanding of the question, is concrete waterproof? As well as some top tips on how to make concrete waterproofing work for your project. 

The success of any concrete project, from installing a building’s foundations to fixing a driveway at home, falls on choosing the right concreting solutions. Siding with the experts at GB Concrete & Pump, means partnering with experts in the industry who can provide durable, long-lasting concrete options with peak performance quickly. For support and reliable supply, contact our team today and discuss your requirements.

FAQs

Can concrete be made completely waterproof?

Concrete can be made highly water-resistant, but achieving complete waterproofing depends on the methods used, the application and the various conditions the structure will face throughout its lifespan.

What is the best way to make concrete waterproof?

The best approach depends on whether the concrete is new or existing, as well as the level of water exposure in the area. Admixtures, sealers, membranes and special concrete waterproofing coatings may all be suitable depending on the project.

Do concrete sealers stop water penetration?

When applied correctly, concrete sealers can significantly reduce water penetration by creating a protective barrier that helps prevent moisture from entering the surface.

How long does concrete waterproofing last?

The lifespan of concrete waterproofing varies depending on the product used, environmental conditions, installation quality and ongoing maintenance. Regular inspections and upkeep can help extend its effectiveness.

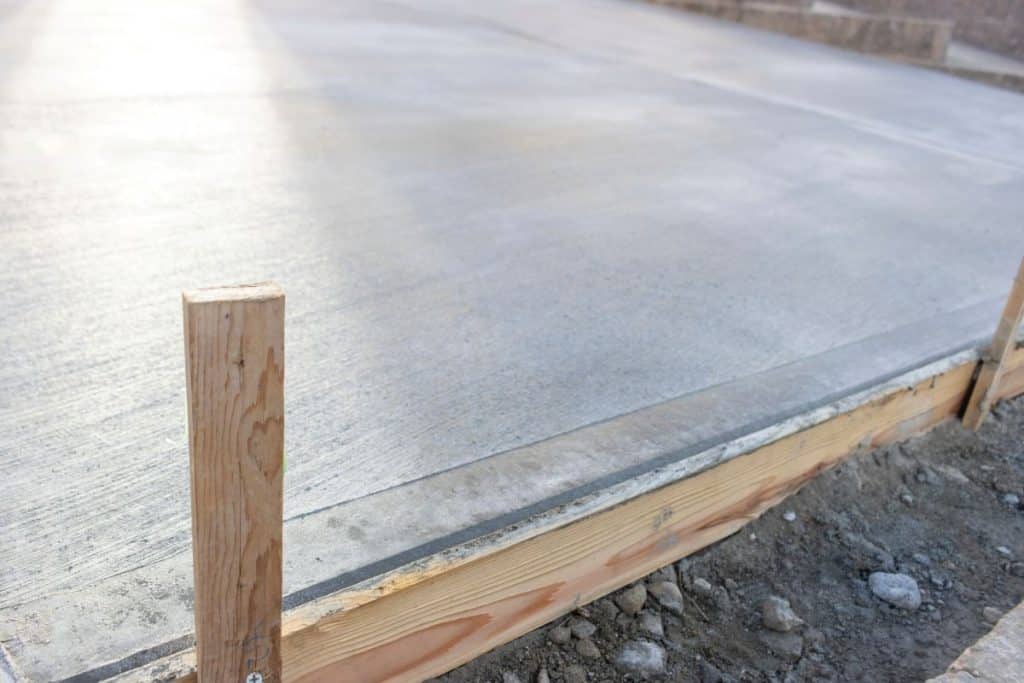
How Long Should Concrete Cure Before Putting Weight On It?

Concrete may look like it has dried quickly, but the actual concrete curing time is a chemical process that continues for weeks. Early surface drying can be misleading because even though the top layer appears set and ready, its internal strength is still developing. So, how long should concrete cure before putting weight on it? Complete concrete curing typically takes around 28 days, although some strength is gained within the first week. Applying weight too soon can damage the surface, cause cracking, and reduce long-term durability.

Curing times vary depending on mix, thickness, temperature, humidity and any other additives. Light foot traffic is often acceptable after 24–48 hours, while heavier loads may require longer waiting periods.

Concrete Curing vs Setting 

One deeply important aspect of many different processes is that curing and setting are actually two different things. 

‘Setting’, refers to the initial hardening stage of the process. Typically, as far as concrete is concerned, this happens within the first few hours after pouring. It is during this timeframe that the concrete will start to lose its fluid state, stiffen up and begin to hold shape. When ‘set’, concrete can be more than ok to walk on and will feel like a sturdy platform, but at this point it is not at its full strength. 

‘Curing’, on the other hand, refers to the much longer process of the concrete gaining further strength over days and weeks following the initial pour. This takes place due to the inherent chemical reactions that make it such an important material. Proper curing is essential for the newly concreted area achieving full durability. 

concrete curing in the sun

What Can Affect The Concrete Curing Process?

Concrete doesn’t always cure perfectly, and there are multiple key factors that can have a serious impact on the curing process as a whole. 

Concrete Mix

Depending on certain ingredients or the ratio of the concrete mixture, it can cure at vastly different rates. Water content, cement ratio and any extra chemicals can influence the curing time drastically. There are some mixes that include accelerators for faster curing. 

Where the mix needs to be adjusted to suit the project, volumetric concrete can be mixed on site to the required specification.

Thickness of the Concrete

The thicker the slab of concrete and the wider the area of pouring will also increase curing times. This is largely down to heat and moisture fully dissipating slower because of the added moisture retention in thicker pours.

Weather Conditions

Another factor that can have a major role on the concrete curing process is the same that affects all avenues of construction, the weather. Colder temperatures slow down the internal chemical reaction leading to extending curing time. On the other hand, warmer temperatures can dry the mixture too quickly causing it to form cracks throughout. 

Moisture Retention

Proper curing depends on keeping concrete moist during the early stages. If it dries out too soon, strength development is reduced and surface quality can be weakened. Maintaining moisture helps ensure even, durable curing.

Understanding Concrete Curing Times

Concrete curing follows a general timeline, but exact strength development can vary depending on conditions and mix design. This raises the question: how long should concrete take to cure before putting weight on it?

  • In most cases, you can simply walk on concrete after 24–48 hours, once it has hardened enough to support light foot traffic.
  • For driveways or heavy vehicles, it is best to wait at least 7 days, when concrete has typically reached around 70% of its final strength.
  • Full curing takes about 28 days, at which point concrete is close to 100% strength and ready for full structural loads.

For more information on installation and application options, explore our Concrete Floors service page

Common Concrete Curing Mistakes to Avoid

There are several common mistakes which can have a serious impact on the strength and durability of your newly poured concrete if it is not properly cured. Our experts have highlighted them here to help you avoid them.

Walking on concrete too early is a frequent issue, as it can damage the surface before it has gained enough strength. Driving on concrete before it has cured sufficiently is even more damaging and may lead to cracks or permanent surface deformation.

Allowing concrete to dry out too quickly reduces its ability to cure properly, weakening the final structure. Ignoring weather conditions like excessive heat, cold or rain can also disrupt the curing process and lead to uneven results.

Skipping proper aftercare, including moisture retention and protection, often results in reduced durability and a shorter lifespan for the concrete.

putting weight on freshly poured concrete

Tips for Helping Concrete Cure Properly

Allowing for proper concrete curing time will help the newly poured mixture reach its full potential. This is crucial for ensuring strength, durability and longevity. Keeping it moist during the earlier stages of its curing process is essential for optimal chemical reaction that reduces surface weakness and ensures even curing. 

Fresh concrete should also be protected from extreme temperatures, both hot and cold, which can lead to cracking, disrupt curing and other inconsistencies. Then it is imperative to avoid applying heavy loads too early, as this has a strong chance of damaging the surface before initial strengthening. Regardless of the size of the application, be sure to follow all professional guidance and aftercare recommendations.

Why Proper Concrete Curing Matters

Proper concrete curing is vital for long-term strength, durability and performance. When done correctly, it improves resistance to wear, pressure and weather conditions, ensuring greater reliability over time. 

It also helps prevent cracking and surface damage that could weaken structural integrity. This is especially important for driveways, slabs and other load-bearing uses. Starting with a consistent, high-quality ready mix concrete also helps give your project the right foundation for long-term strength and durability

When looking for quality materials and professional services, contact GB Concrete & Pump. Head to our contact page or submit your concrete order today, for free quotes, fast delivery and satisfaction guaranteed.  

FAQs

Does Concrete Heat Up When Curing?

Yes, concrete will naturally heat up during the chemical reaction of the curing process. Larger pours retain more heat, which can have a direct influence on moisture levels and curing speed and quality.

What Temperature Does Concrete Need to Cure?

Typically, concrete tends to cure best at 10°C to 25°C. Colder weather can have an adverse affect on the curing process causing it to take far longer. On the other hand, hotter temperature can cause rapid drying, which in turn, causes far lower strength integrity.

How To Level A Concrete Floor Before Installation

If you’re having new flooring, you’ll need to know how to level a concrete floor before installing further finishes like tiles, laminate, hardwood or carpet. If the concrete floor isn’t level, it can cause various problems further down the line, like more wear, a shorter lifespan and safety issues.

GB Concrete and Pump specialise in several services, including supplying and pumping for concrete floors, and is here with a clear guide on how to level a concrete floor.

Why Concrete Floor Levelling Is Important

Having a completely level concrete floor is crucial to avoid problems that can result in costly fixes. Level concrete floors prevent uneven installation of new floor coverings, and the adhesion of the coverings can also be compromised. Tiles, vinyl planks and wooden finishes require a completely flat concrete subfloor, otherwise cracks will appear and boards will easily separate.

A level concrete floor also means less structural stress, helping to extend the lifespan of the concrete subfloor, underlayment and the finish. Lumps, bumps and warped areas can lead to accidents, especially when the floor is there to support vehicles like forklifts, for example.

levelling a concrete floor

Signs Your Concrete Floor Needs Levelling

It may look level and even, but other key signs will show if your concrete floor needs levelling.

  • Visible cracks in the floor:
    A very obvious sign, cracks in a concrete floor can occur due to water infiltration, which is common with uneven concrete.
  • Visible dips and slopes:
    Low spots, uneven areas or noticeable slopes across the floor can indicate the concrete has settled over time. These uneven surfaces can create trip hazards and make it difficult to install flooring properly.
  • Pooling water or moisture issues:
    If water gathers in certain areas instead of draining evenly, it’s often a sign the floor is no longer level. Ongoing moisture problems can also lead to mould growth, surface damage and further weakening of the concrete.
  • Flooring lifting or movement:
    Tiles, laminate, vinyl or wood flooring that shifts or separates may point to an uneven subfloor underneath. As the concrete moves or settles, the flooring above can become unstable and damaged.

Tools You Need To Level A Concrete Floor

If you need to level your concrete floor, you’ll require the right tools and materials to get a smooth, even finish. Some tools help you measure how uneven the floor is, while others are used to repair cracks, spread the compound and keep the area clean throughout the process.

  • Spirit level or laser level – used to check how uneven the concrete floor is and identify any high or low spots.
  • Concrete filler for any cracks or holes – ideal for repairing any visible damage in the concrete before applying the levelling compound.
  • Self-levelling compound – a specially designed mixture that spreads across the floor to create a smooth, level surface.
  • Concrete grinder or sander – used to smooth down raised areas or rough patches so the floor is as even as possible before levelling.
  • Trowel and mixing paddle – a mixing paddle helps combine the levelling compound properly, while a trowel is used to spread and smooth it evenly.
  • Primer and cleaning equipment – primer helps the levelling compound bond correctly to the concrete surface, and a broom, mop and cleaning cloths to remove dust and debris.
  • Protective gear (gloves, goggles, mask) – essential for protecting yourself from dust and chemicals during preparation and levelling.
  • Bucket – needed for mixing the self-levelling compound with water before application.
  • Vacuum – helps remove fine dust and dirt from the concrete surface.
level a concrete floor

Step-By-Step Guide To Concrete Floor Levelling

1. Prepare The Area

To level a concrete floor, start off by clearing the area of any furniture, skirting boards and floor coverings. There’s likely to be dirt, dust and debris, so sweep and vacuum to remove these. A clean surface is essential, as any leftover dirt can affect how well the levelling compound bonds to the concrete.

2. Check For Moisture

Concrete floors must be dry before pouring the levelling compound. So, check for any moisture, which may require a moisture metre in some instances. If moisture levels are too high, it’s likely you’ll have to also install a damp-proof membrane or use a moisture barrier, both made from heavy-duty plastic to stop moisture migrating upwards from the damp earth to the concrete.

3. Inspect For Cracks Or Holes

Next, look for any cracks or holes. If there are any, repair them with a concrete filler and allow it to cure. You can then use your spirit level or laser level to assess how uneven the floor is using a spirit level or laser level, so you know which areas need the most attention.

4. Apply A Primer

Applying a primer helps the self-levelling compound stick properly to the concrete surface. Without primer, the compound may dry unevenly or fail to bond correctly.

Pour the primer directly onto the floor and spread it evenly and make sure the entire surface is covered. Allow it to fully dry before moving on to the next step.

5. Mix Self-Levelling Compound

Prepare the self-levelling compound by following the manufacturer’s instructions carefully. Usually, this involves mixing the powder with water in a large bucket and using a mixing paddle to combine.

It’s important to get the consistency right, as a mixture that’s too thick or too thin can affect the final result. Mix only the amount you can use within the recommended working time, as the compound can start setting quite quickly.

6. Spread And Smooth Compound

Pour the self-levelling compound onto the floor, starting at the lowest area first. The compound is designed to flow naturally across the surface, helping to fill dips and uneven sections.

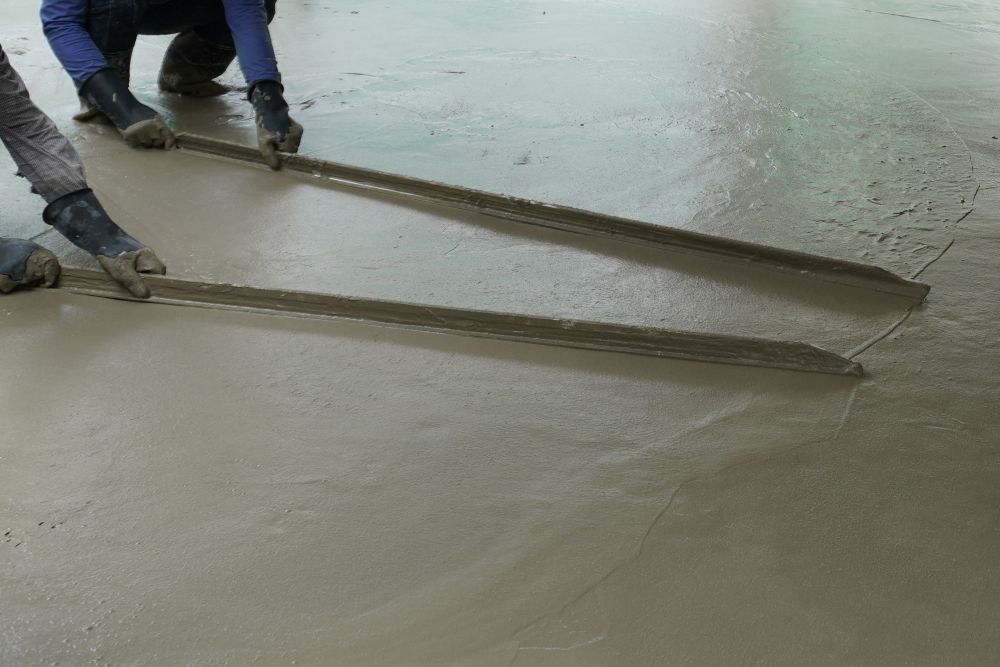
Use a smoothing trowel or gauge rake to spread the mixture evenly and remove any excess. You’ll need to work fairly quickly, as the compound can begin to harden within a short amount of time. For larger rooms, it may help to work in sections or grab an extra pair of hands, with one pouring, the other levelling.

7. Allow To Dry Fully

Once the compound has been applied, leave the floor undisturbed to dry and cure fully. Drying times can vary depending on the product used, room temperature and thickness of the application.

Avoid walking on the floor until it has fully set. After it has dried, check the surface again with a spirit level. If there are still uneven areas, a second coat of the levelling compound may be needed.

Tips For A Professional Finish

  • Use high-quality products:
    Using reliable primers, fillers and self-levelling compounds can make a big difference to the final result. Higher-quality products are usually easier to work with, bond better to concrete and provide a smoother, longer-lasting finish.
  • Follow the manufacturer’s instructions:
    Always read and follow the instructions provided with your levelling compound and primer. This includes the correct mixing ratios, drying times and recommended application thickness, all of which ensure the floor levels properly.
  • Work in small sections:
    Self-levelling compounds can begin to set quickly, so it’s often easier to work in small sections rather than trying to cover the whole floor at once.
  • Take your time:
    Rushing the preparation or application process can lead to uneven results. Taking the time to clean the floor properly, repair damage and apply the compound carefully will help achieve a much smoother and more professional finish.

Levelling concrete floors takes a few key tools and steps to get right. But it needs to be done if you’ve got cracks, dips, bumps or built up moisture on your existing floor.

If you’re unsure where to start, the team at GB Concrete and Pump can help. Whether you need advice, concrete supply or support with your project, get in touch with our experienced team today.

FAQs

How long does a concrete floor take to level and dry?

Most self-levelling compounds become walkable within a few hours, but full drying and curing can take anywhere from 24 hours to several days depending on the product used. Drying times are affected by the thickness of the compound, room temperature, humidity levels and ventilation. Thicker applications will naturally take longer to fully cure.

In many cases, flooring can be installed and levelled after 24 to 72 hours, but it’s always best to check the manufacturer’s recommendations before laying tiles, laminate, vinyl or wood flooring.

What should the moisture level be for a concrete floor?

Concrete floors should have low and stable moisture levels before any levelling compound or flooring is installed. Excess moisture can lead to problems such as adhesive failure, mould growth, lifting flooring and damage to the finished surface.

A moisture metre can help identify whether the concrete is dry enough for levelling or flooring installation. If the moisture levels are too high, a damp-proof membrane or moisture barrier may be required to protect the floor long term.

Can you put self-levelling concrete over existing concrete?

Yes, in most cases a self-levelling compound can be applied directly over existing concrete as long as the surface is stable and properly prepared. The floor should be thoroughly cleaned, any cracks or holes filled and repaired, and a stable primer applied before levelling begins.

However, if the existing concrete is severely damaged, crumbling or structurally unstable, further repairs may be needed before a levelling compound can be safely applied. In some situations, replacing sections of concrete may be the better solution.

Birmingham Construction Labour Shortages: How On-Site Volumetric Mixing Saves Time and Money

If you’ve been involved in any building work around Birmingham lately, you’ll know exactly what I’m talking about. Finding reliable lads for the job has become a proper headache. Whether it’s a new extension in Harborne, a factory unit in Aston, or housing developments pushing out towards Sutton Coldfield, the skilled hands just aren’t there like they used to be.

The West Midlands is throwing serious cash at the problem — £75 million to train over 12,000 new workers over the next few years — but that won’t fix things overnight. In the meantime, projects are dragging on, costs are creeping up, and contractors are turning down work because they can’t staff it. That’s where smart choices on materials and methods can make all the difference.

Why the Labour Crunch Hits Birmingham So Hard

We’re in one of the busiest construction regions in the country right now. Between HS2 leftovers, city centre regeneration, new homes targets, and all the commercial builds, demand is sky high. But the workforce is aging, fewer young people are coming into trades, and Brexit plus other factors thinned out the pool. Local firms are competing hard for the same brickies, groundworkers, and concretors.

On a typical job, that means your team spends more time waiting around — for deliveries, for the right mix to show up, or just trying to stretch the crew they do have. Every hour wasted is money lost, especially when you’ve got tight access, residents next door, or council deadlines breathing down your neck.

Enter Volumetric Mixing — The Practical Way Forward

This is where switching from traditional Birmingham ready mix concrete deliveries to on-site volumetric mixing really starts to shine. Instead of relying on big mixer trucks turning up with a fixed load that’s already ticking, you get a volumetric truck that mixes fresh concrete right there on your site, in exactly the quantities and mixes you need, when you need them.

No more over-ordering by a couple of cubes “just in case.” No more watching a load go off because the pump was late or the gang got held up. You produce what you pour.

Real Savings on Labour and Time

Here’s the bit that matters most when you’re short-handed:

  • Fewer bodies needed on the pour. Traditional ready-mix often needs a bigger team to keep up with the clock — one load after another before it goes off. With volumetric, you control the flow. Smaller, more efficient crews can manage it without rushing or cutting corners.
  • No waiting games. Traffic in Birmingham is a nightmare at the best of times — trying to get a ready-mix truck through Digbeth or Edgbaston during rush hour can turn a straightforward job into a saga. Volumetric trucks carry the raw materials and mix on demand, so you’re not sat there with an idle gang burning through the day rate.
  • Less waste means less clearing up. That leftover concrete you paid for but couldn’t use? It costs labour to deal with as well as money. Volumetric cuts that right down.
  • Flexibility for changes. Spot a problem mid-pour or need a slightly different mix for a tricky section? You can adjust it there and then instead of sending for another load and losing half a day.

Contractors we’ve spoken to locally reckon they’re shaving 20-30% off labour time on concrete jobs by going this route. In a city where every skilled hour counts, that adds up fast.

Not Just for the Big Boys

A lot of people assume volumetric is only worth it on massive commercial sites. Not true. For domestic extensions, driveways, or smaller commercial pads across the West Midlands, the benefits stack up even more. You avoid the minimum load charges, the short-notice delivery dramas, and the stress of coordinating everything perfectly with a stretched crew.

At GB Concrete & Pump, we’ve seen it time and again — jobs that used to need tight coordination with multiple ready-mix deliveries now run smoother, finish quicker, and come in under budget.

The Bottom Line for Birmingham Builders

The labour shortage isn’t going away anytime soon, even with all the training investment. Smart operators are the ones looking at every part of the process to do more with what they’ve got. On-site volumetric mixing isn’t flashy tech — it’s practical, reliable, and directly tackles the pain points we’re all feeling right now.

If you’re fed up with watching your margins disappear because of delays and staffing headaches, it might be time to rethink how you source your concrete.

Give us a ring or drop us a message — we can run the numbers on your next job and show you exactly what the switch could save you in Birmingham conditions. No hard sell, just honest advice from lads who understand the local game.

How Does A Concrete Pump Work? Complete Guide

Concrete pumps are an ingenious and modern construction technique for ensuring full coverage of an area that needs a concrete base. Concrete pumping is ideal for areas with challenging accessibility or hard to reach spots. GB Concrete & Pump has all the skills, experience and tooling to make any concreting project dead simple, from the smallest residential jobs to huge construction plans.

Our experts have compiled this ultimate guide to answer your questions like, what is a concrete pump? How does one work? And how it can help your upcoming project. 

concrete pumping

What Is A Concrete Pump?

A concrete pump is a piece of equipment used to transfer freshly mixed concrete from a delivery vehicle to the pour location. It is commonly used for both construction sites and domestic projects where efficient, controlled concrete placement is essential. By moving concrete through a system rather than manual handling, it helps save time, money and improve consistency.

How Does A Concrete Pump Work?

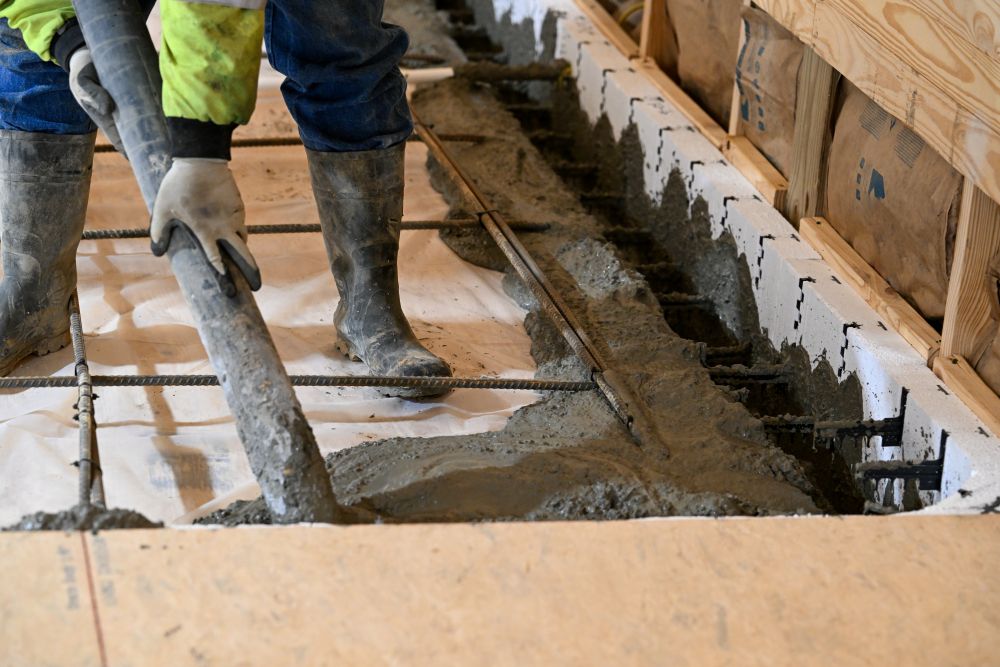
Concrete is first poured into a hopper, which feeds the pump system. A hydraulic mechanism will then push the concrete mixture through a network of pipes or sturdy flexible hoses. This system and setup allows it to be delivered directly to the required area. The concrete flow is controlled throughout, ensuring accurate placement and a steady, continuous supply during the pour.

Main Parts Of A Concrete Pump

A typical concrete pump is made up of several key components that work together to ensure smooth operation.

  • The hopper is where the concrete is initially loaded
  • The pump system, powered hydraulically, drives the concrete forward
  • Pipes or hoses transport the material to the pour site
  • A boom (on certain pumps) helps to extend the reach across large areas or heights

Different Types Of Concrete Pump

After deciding that concrete pumping is the method for you, it will then be time to decide what kind of concrete pump will be best used for your current project. There are two main types of concrete pumps that you will come across for various uses, sizes and requirements. 

Boom Pumps

This style of concrete pump tends to be mounted onto trucks directly and uses a robotic arm to deliver the mixed concrete solution over long distances or to a certain height. This makes them an ideal option for busy and expansive construction sites. 

Line Pumps

A line pump, on the other hand, uses a collection of flexible hoses to transport concrete and is a far better choice for smaller projects or those that have areas with restricted or tight access points. These are commonly used for domestic builds and are the type supplied by GB Concrete & Pump.

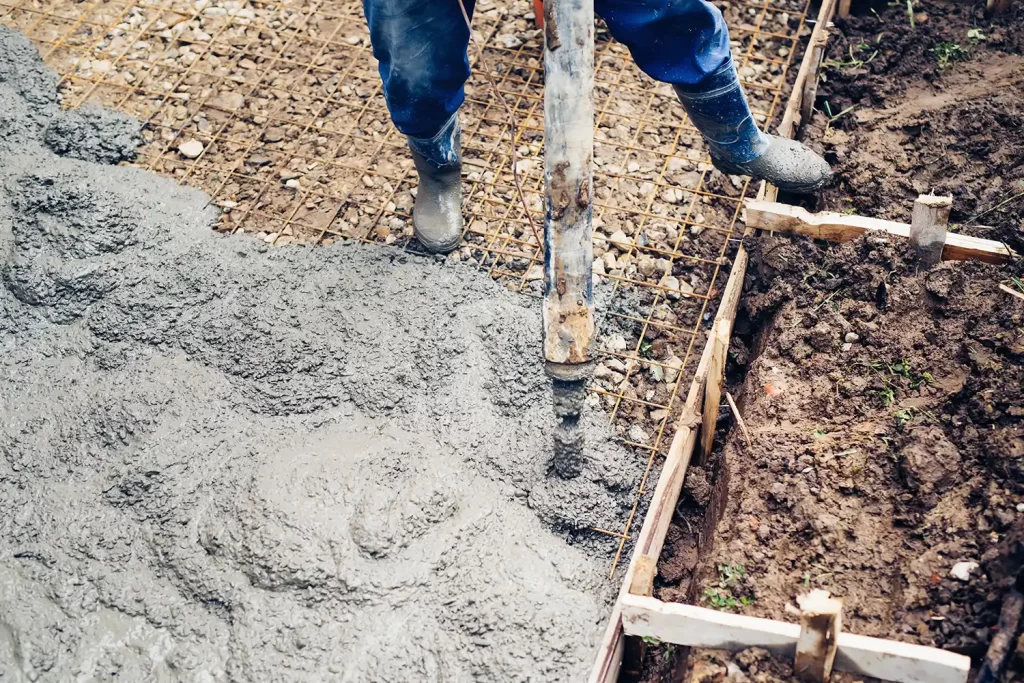
Man pouring concrete mix using a pump

Step-by-Step: The Concrete Pumping Process

The process begins with concrete being mixed and delivered to site, with different mix types available depending on the project requirements.

Once on site, the pump is set up in a suitable position. Concrete is then fed into the hopper, where the pumping system pushes it through pipes or hoses. A trained operator controls the flow and placement, ensuring the concrete is delivered precisely where it’s needed for an efficient and consistent pour.

Why Use a Concrete Pump? Key Benefits

Concrete pumping offers several advantages over traditional concreting methods.

Speed and Efficiency – Concrete can be placed much faster than manual methods, helping reduce project time
Precision – Controlled flow allows accurate placement, minimising waste and improving finish quality
Site and Location Access – Pumps can reach tight, elevated or difficult areas with ease
Reduced Labour – Less manual handling is required, making the process safer and more efficient overall

When Is Concrete Pumping the Best Option?

Concrete pumping is particularly useful on large construction sites where both speed and high-volume delivery are essential to keep projects on schedule. It is also an excellent solution for locations with limited or difficult access, such as enclosed spaces, elevated areas or sites with physical obstacles that make traditional pouring methods impractical.

Projects requiring a fast turnaround benefit greatly from the efficiency and consistency of pumping. Additionally, domestic jobs like home extensions, patios and driveways gain from its precision, reduced labour effort and the convenience of placing concrete exactly where it is needed.

Concrete Pumping vs Traditional Methods

Traditional concrete placement often involves wheelbarrows and consistent manual distribution, which is a slow, laborious and far more inconsistent process. In contrast, concrete pumping provides a faster, cleaner, more controlled solution without the need for tiring, potentially injury-causing manual effort. This allows for concrete to be placed evenly with minimal disruption. It also helps maintain a cleaner site and improves overall workflow efficiency.

Concrete Pumping in Birmingham

Safety Considerations When Using a Concrete Pump

Operating a concrete pump requires experienced, trained professionals to ensure it is used safely and effectively on any construction site, whether domestic or commercial. Proper setup is crucial, including stabilising the equipment, positioning outriggers correctly and checking ground conditions to prevent movement during operation.

Regular maintenance and inspection of hoses, joints and mechanical components helps reduce the risk of faults or breakdowns. Careful handling of pressurised systems is essential to avoid leaks or bursts. Clear communication between workers, along with wearing appropriate protective gear, further helps prevent accidents and ensures a smooth, controlled concrete pour.

Hiring A Concrete Pump for Your Project

If you’re planning a project that requires efficient and accurate concrete placement, hiring a concrete pump can make a significant difference, regardless of the size of said project.

Whether you want to work out how much concrete you will need first with our handy calculator or want more information on how a concrete pump works and the specifics of our concrete pumping services, contact the team at GB Concrete & Pump today.

Concrete Screed vs Traditional Flooring

Which One Should You Choose for Your Project?

If you’re planning a new floor — whether it’s for a house extension, a new garage, a commercial unit, or even sorting out a wonky old concrete slab, you’ll eventually hit the same question: do I just pour concrete and finish it, or do I need a screed on top?

We get asked this all the time at GB Concrete & Pump. Both materials are made from cement, sand, and water, but they do very different jobs. Getting the choice wrong can mean extra cost, longer waiting times, or a floor that never quite looks or performs right.

So, What’s the Difference?

Traditional concrete flooring is the tough stuff. It’s mixed with larger, coarser aggregates (think gravel and stones) which give it serious strength and durability. This is what you use for the main structural slab — foundations, driveways, industrial floors, or anywhere that needs to take real punishment.

It’s laid thicker, usually starting at 100mm for domestic work and going up to 150-200mm+ for commercial or heavy-use areas. The surface comes out rougher, which is fine if you’re leaving it as a hardwearing floor or adding a separate finish later.

Concrete screed, on the other hand, is the finishing layer. It uses much finer sand and a smoother mix, so it creates a level, even surface that’s perfect for laying tiles, vinyl, laminate, wood, carpet, or resin. Screed is nearly always poured on top of a structural concrete base (or sometimes insulation for floating floors).

Typical thicknesses:

  • Bonded screed (stuck straight to the concrete): 25–40mm
  • Unbonded or floating screed: 50–75mm or more

In short: concrete gives you the muscle. Screed gives you the smooth, flat finish.

Pros and Cons – Keeping It Real

Traditional Concrete Floor

  • Pros: Cheaper per square metre, incredibly strong, great for exposed or hardwearing surfaces, can be polished or sealed for a modern industrial look.
  • Cons: Harder to get perfectly level without extra work (grinding, levelling compounds), longer initial setting time, and the surface is naturally rougher. Not ideal if you want a crisp finish for tiles or underfloor heating.

Concrete Screed

  • Pros: Excellent level and smooth finish, faster to get right for final floor coverings, works brilliantly with underfloor heating (especially liquid/flowing screeds), thinner layers possible in many cases, and it can dry quicker than a full structural pour in some formulations.
  • Cons: It’s not structural on its own — it needs a solid concrete base underneath. Traditional sand-and-cement screed can take a long time to fully dry (roughly one day per mm of thickness up to 40mm, then slower after that), though fast-drying and liquid options change the game.

When Should You Choose Screed?

Most domestic and many commercial jobs benefit from a screed layer. Here are the times we’d usually recommend it:

  • You’re laying tiles, laminate, vinyl or engineered wood — these all need a flat, level base to avoid cracking or lipping later.
  • You’re installing underfloor heating. Screed (particularly flowing/liquid types) wraps around the pipes nicely and gives better heat transfer.
  • Renovation or extension work where the existing slab isn’t perfectly level.
  • You want a polished concrete-style finish but with a finer, more consistent surface.

If you’re doing a farm yard, heavy industrial slab, or driveway, you might not need screed at all — just a well-finished structural concrete pour.

Traditional Sand & Cement Screed vs Liquid/Flowing Screed

Even within screeds there’s a choice. Traditional sand-and-cement is still widely used, especially on smaller jobs or where you need to create falls (slopes for drainage in wet rooms). It’s labour-intensive to lay but very familiar to most groundworkers.

Liquid screeds are pumped in, self-level, and can cover huge areas quickly with far less manual finishing. They’re thinner, often dry faster (sometimes walkable in 24-48 hours), and are excellent over underfloor heating. They do tend to cost a bit more upfront, but the speed and quality can save time and money overall.

A Quick Cost and Time Reality Check

A basic concrete slab is usually the cheapest way to create the structure. Adding a screed increases the material and labour cost, but it can save you headaches (and money) when it comes to laying your final floor finish.

Drying times matter a lot too. Rushing a floor covering onto damp screed is one of the most common (and expensive) mistakes we see.

So… What Should You Do?

There’s no one-size-fits-all answer. For most house extensions, new builds, and commercial units in the West Midlands, we recommend a solid concrete structural slab followed by the right type of screed. It gives you the best combination of strength and a professional finish.

If you’re unsure, the best thing is to talk it through with us before you start. We can look at your project, the access, the final floor type, whether you want underfloor heating, and give you honest advice on what will work best — and what will keep the cost down without cutting corners.

At GB Concrete & Pump we supply and pump both screed and ready-mix concrete across Birmingham, the Black Country, Staffordshire, Worcestershire and surrounding areas. Volumetric mixing on site is also handy when you need exact amounts or want to avoid waste.

Got a project coming up? Drop us a message or give the office a ring. We’re happy to chat through your options and help you make the right call from the start.